
In this blog, we will explore “New Trick – Organizing Prisma Models with the MERN Stack”. Here, you will learn how to split and organize Prisma models, enums & types from the prisma.schema file into multiple files and import predefined data from JSON files. Let’s dive in and check it out:

What is the Trick for Organizing Prisma Models with the MERN Stack?
When I started working with Prisma ORM, I discovered the schema.prisma file in the ./prisma folder, which is generated after running the Prisma init command. This file contains all the Prisma ORM information about database connectivity, models, types, and enums. Keeping all the details in one place works well for small projects. However, as projects grow, it becomes complex to manage everything in a single file due to the increasing number of models, types, and enums.
I realized that we need to split the models and other information into different files. I searched the Prisma documentation but found no official guidelines or structure to help with this. Therefore, I developed my own method to handle this situation from scratch. This trick is not officially supported by Prisma ORM, but I hope you find this blog beneficial for your development journey.
Additionally, I found that there is no built-in way to import predefined data for tables through Prisma ORM. Many tables require initial data imports at the start of every project, such as AppConfig, Country, State, City, Currency, EmailTemplate, SMSTemplate, User, etc. While this data can be imported using MongoDB Compass or the MongoDB command line, we need a way to import all data through Prisma ORM from JSON files.
So, let’s get started on how to do this in prisma js:
Prisma Installation with MERN Stack
Certainly! Let’s walk through the process of setting up Prisma with a MERN stack application focusing on Node.js, Express.js, and MongoDB.
Setting Up Prisma with a MERN Stack Application
1. Create Project Directory
First, create a new project folder:
sudo mkdir mern-prisma
Navigate to the project folder:
cd mern-prisma
2. Initialize NPM
Initialize the project with NPM:
npm init -y
3. Install Express.js
Install Express.js and other necessary packages:
npm install express
4. Install Additional Packages
Install additional packages required for the project:
npm install dotenv morgan cors body-parser glob
Install development dependencies:
npm install --save-dev nodemon
5. Install Prisma ORM
Install Prisma ORM:
npm install @prisma/client
npm install prisma --save-dev
6. Initialize Prisma
Initialize Prisma in your project:
npx prisma init
This command creates a Prisma folder in the root directory.
Organizing Prisma Models with MERN Stack
Your folder structure should look like this:
prisma/
└── mongodb/
    ├── models/
    │   └── User.prisma
    ├── types/
    ├── enums/
    │   ├── Gender.prisma
    │   └── Status.prisma
    ├── data/
    │   └── User.json
    ├── DataSource.prisma
    ├── import.js
    └── mergeSchemas.js
1. Create Folder Structure
First, create the necessary folder structure within the ./prisma/ directory:
mkdir -p prisma/mongodb/models prisma/mongodb/types prisma/mongodb/enums
2. Create User Model
Create a User.prisma file in the models folder:
touch prisma/mongodb/models/User.prisma
Add the following code to User.prisma:
// User model
model User {
    id                 String   @id @default(uuid()) @map("_id")
    firstName          String?
    lastName           String?
    username           String   @unique
    email              String   @unique
    contactNo          BigInt?  @unique
    password           String?
    gender             Gender
    dob                String?
    nationality        String?
    slug               String?
    orderBy            String?  @default("1")
    status             Status   @default(Active)
}
3. Create Enums
Gender Enum
Create a Gender.prisma file in the enums folder:
touch prisma/mongodb/enums/Gender.prisma
Add the following code to Gender.prisma:
// Gender Enum
enum Gender {
    Male
    Female
    Other
}
Status Enum
Create a Status.prisma file in the enums folder:
touch prisma/mongodb/enums/Status.prisma
Add the following code to Status.prisma:
// Status Enum
enum Status {
    Active
    Inactive
    Pending
}
4. Create Data Source Configuration
Create a DataSource.prisma file in the mongodb folder:
touch prisma/mongodb/DataSource.prisma
Add the following code to DataSource.prisma:
// Data source configuration
datasource db {
    provider = "mongodb"
    url      = env("DATABASE_URL")
}
5. Create Merge Script
Create a mergeSchemas.js file in the ./prisma/mongodb/ directory:
touch prisma/mongodb/mergeSchemas.js
Add the following code to mergeSchemas.js:
const fs = require('fs');
const path = require('path');

const modelDir = path.join(__dirname, 'models');
const typeDir = path.join(__dirname, 'types');
const enumDir = path.join(__dirname, 'enums');
const dataSource = path.join(__dirname, 'DataSource.prisma');
const outputSchema = path.join(__dirname, '../schema.prisma');

const dataSourceContent = fs.readFileSync(dataSource, 'utf-8');

// Read base schema
const baseSchema = `
// This is your Prisma schema file,
// learn more about it in the docs: https://pris.ly/d/prisma-schema
// Looking for ways to speed up your queries, or scale easily with your serverless or edge functions?
// Try Prisma Accelerate: https://pris.ly/cli/accelerate-init

generator client {
  provider = "prisma-client-js"
}

${dataSourceContent}
`;

// Read all enum files
const enumsFiles = fs.readdirSync(enumDir).filter(file => file.endsWith('.prisma'));

// Concatenate all enum files content

let enumsContent = '';

if (enumsFiles.length > 0) {
    enumsContent += '// All Enums\n\n';
    for (const file of enumsFiles) {
        const content = fs.readFileSync(path.join(enumDir, file), 'utf-8');
        enumsContent += `${content}\n`;
    }
}

// Read all type files
const typesFiles = fs.readdirSync(typeDir).filter(file => file.endsWith('.prisma'));

// Concatenate all type files content
let typesContent = '';
if (typesFiles.length > 0) {
    typesContent += '\n// All Types\n\n';
    for (const file of typesFiles) {
        const content = fs.readFileSync(path.join(typeDir, file), 'utf-8');
        typesContent += `${content}\n`;
    }
}

// Read all model files
const modelFiles = fs.readdirSync(modelDir).filter(file => file.endsWith('.prisma'));

let modelsContent = '';

// Concatenate all model files content
if (modelFiles.length > 0) {
    modelsContent += '\n// All Models\n\n';
    for (const file of modelFiles) {
        const content = fs.readFileSync(path.join(modelDir, file), 'utf-8');
        modelsContent += `${content}\n`;
    }
}

// Write the final schema.prisma file
fs.writeFileSync(outputSchema, baseSchema + enumsContent + typesContent + modelsContent);
console.log('Schema merged successfully');
6. Create Data Import Script
Create an import.js file in the ./prisma/mongodb/ directory:
touch prisma/mongodb/import.js
Add the following code to import.js:
const { PrismaClient } = require('@prisma/client');
const fs = require('fs');
const path = require('path');
const glob = require('glob');

const prisma = new PrismaClient();

async function main() {
    // Use glob to find all JSON files in the specified directory
    const files = glob.sync(path.join(__dirname, 'data/*.json'));

    // Iterate over each file
    for (const file of files) {

        // Extract the model name from the file name (assuming the file name matches the model name)
        const modelName = path.basename(file, path.extname(file));

        // Ensure the model name starts with an uppercase letter (adjust as needed)
        const prismaModel = modelName.charAt(0).toUpperCase() + modelName.slice(1);

        // Check if the model exists in the Prisma client and has unique fields defined
        if (prisma[prismaModel]) {

            // Read and parse the JSON file
            const data = JSON.parse(fs.readFileSync(file, 'utf-8'));

            // Import the data into the corresponding Prisma model
            for (const item of data) {

                // Add additional fields dynamically
                item.status = item.status || 'Active';

                // Insert the new record
                await prisma[prismaModel].create({
                    data: item,
                });

            }
            console.log(`Data from ${file} imported successfully into ${prismaModel} model.`);
        } else {
            console.error(`Model ${prismaModel} does not exist in Prisma schema or unique fields are not defined.`);
        }
    }
}

main()
    .catch(e => {
        console.error(e);
        process.exit(1);
    })
    .finally(async () => {
        await prisma.$disconnect();
    });
7. Create Data JSON File
Create a User.json file in the ./prisma/mongodb/data/ directory:
touch prisma/mongodb/data/User.json
Add the following sample data to User.json:
[
     {
        "firstName": "Muslim",
        "lastName": "Ahmed Khan",
        "username": "muslim12",
        "email": "muslimahmadkhan@gmail.com",
        "contactNo": "8114463283",
        "password": "$argon2id$v=19$m=65536,t=3,p=4$Pch5LlbkBWYk610M1xkhAA$UUSR9dDryccvgtiADKjD+twoBUJYdM5X8K2XagdcDdY",
        "gender": "Male",
        "dob": "12-03-1991",
        "nationality": "Indian",
        "slug": "muslim12"
    },
    {
        "firstName": "Hasan",
        "lastName": "Ahmed Khan",
        "username": "hasan15",
        "email": "muslimahmadkhan@gmail.com",
        "contactNo": "8114463283",
        "password": "$argon2id$v=19$m=65536,t=3,p=4$Pch5LlbkBWYk610M1xkhAA$UUSR9dDryccvgtiADKjD+twoBUJYdM5X8K2XagdcDdY",
        "gender": "Male",
        "dob": "12-03-1991",
        "nationality": "Indian",
        "slug": "hasan15"
    },
    {
        "firstName": "Husain",
        "lastName": "Ahmed Khan",
        "username": "husain05",
        "email": "muslimahmadkhan@gmail.com",
        "contactNo": "8114463283",
        "password": "$argon2id$v=19$m=65536,t=3,p=4$Pch5LlbkBWYk610M1xkhAA$UUSR9dDryccvgtiADKjD+twoBUJYdM5X8K2XagdcDdY",
        "gender": "Male",
        "dob": "12-03-1991",
        "nationality": "Indian",
        "slug": "husain05"
    }
]
8. Update package.json Scripts
Update your package.json to include the necessary scripts:
"scripts": {
    "prisma-merge": "node prisma/mongodb/mergeSchemas.js",
    "prisma-generate": "prisma generate",
    "prisma-push": "prisma db push",
    "prisma-import": "node prisma/mongodb/import.js",
    "prisma-studio": "prisma studio",
    "dev": "nodemon src/server.js",
    "start": "node src/server.js"
}
You now have the complete setup for merging Prisma schemas and importing data.
9. Adding MongoDB Connection String to .env
Add the following line to your .env file to specify the MongoDB connection string:
DATABASE_URL=mongodb://127.0.0.1:27017/mern-prisma?replicaSet=rs0
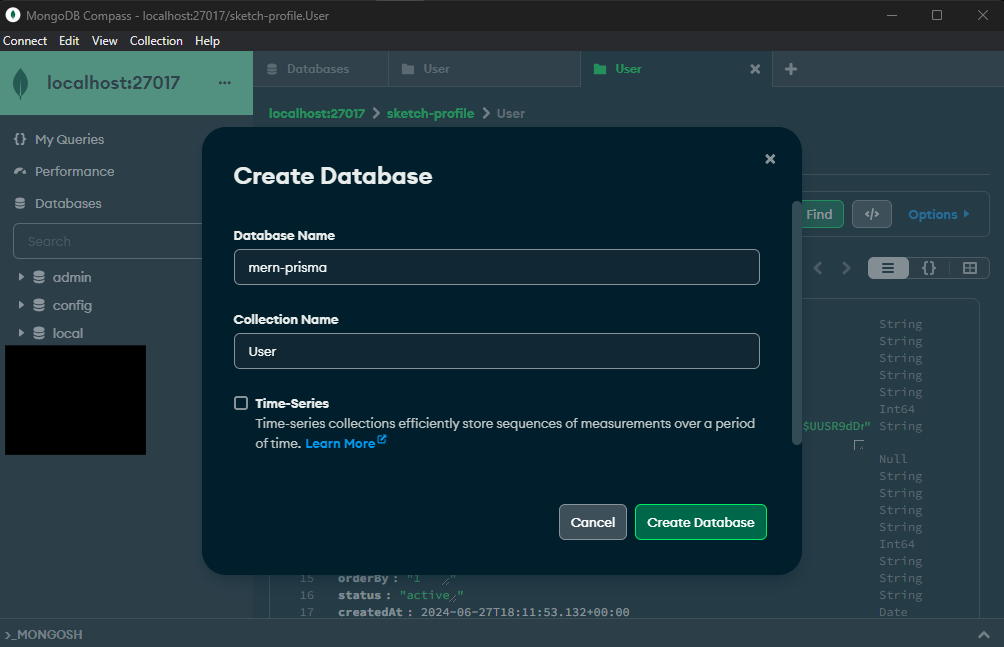
Make sure you create a database named mern-prisma using MongoDB Compass or MongoDB terminal commands if it doesn’t already exist.
10. Enable Replica Set for MongoDB
Prisma requires a replica set for running queries in MongoDB. Follow the instructions in this below blog post to enable the replica set on your MongoDB instance:
Running Prisma Setup and Data Import Scripts
To complete the setup and import data into your Prisma schema, follow these steps:
1. Merge Prisma Schemas
Run the command to merge all schema elements into one file:
npm run prisma-merge
npm run prisma-merge: Merges all your schema elements (models, enums, types, and data source) into a single schema.prisma file.
2. Generate Prisma Client
Generate the Prisma client with the following command:
npm run prisma-generate
npm run prisma-generate: Generates the Prisma client based on the merged schema.
3. Push Prisma Schema to Database
Push the Prisma schema to your MongoDB database:
npm run prisma-push
npm run prisma-push: Syncs the Prisma schema with your MongoDB database.
4. Import Data
Import data from the ./prisma/mongodb/data directory into your database:
npm run prisma-import
npm run prisma-import: Imports JSON data into your MongoDB collections based on your Prisma models.
After running these commands, you should see output confirming that each step was completed successfully.
Result

Source Code: Blog-Trick-Organizing-Prisma-Models-with-the-MERN-Stack
Check out another blog:
Related another blog: